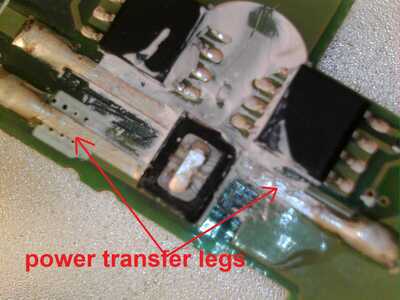
Put U-shaped soldering wire on the parallel legs, they are used for power line conducting. Be carefull not to touch with this jumper a third control legs, which is connected to heater MOSFET, as it could be damaged.
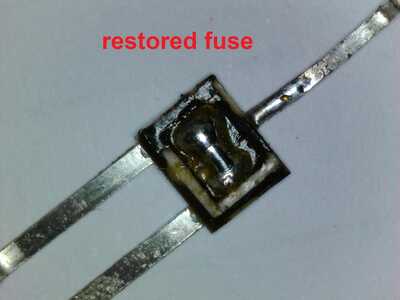
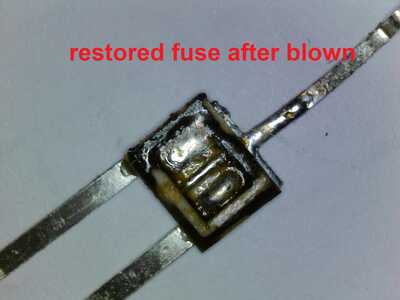
Here is an example of restored fuse.
sir why u shape plz explain why not just ---
2 and 3
means like minus
U-shaped form located above main MOSFETs will have more chances to be melted in case of overcurrent or short-circuit events in comparison with straightforward form, thus provide more protection to the pack.
For fuses of rectangular type like 12AH3 recovery tutorial is here.
https://www.laptopu.ro/community/laptop-battery-chip-reset-and-repair/battery-fuse-replacement
Alternative method for 3 legs fuse restoration that i use every time.
Unsolder the fuse from pcb.
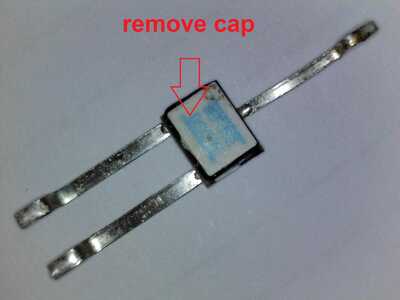
Flip it and remove the cap.
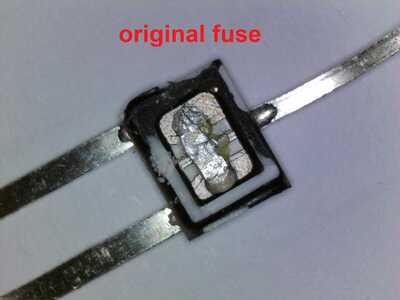
The original fuse looks like this
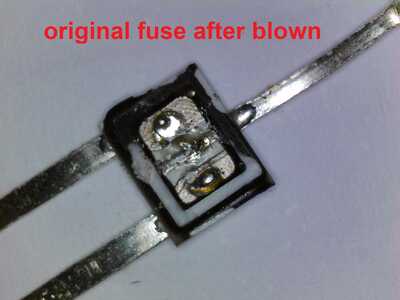
When blown looks like this.
Restore the blown fuse by a drop of solder. I always use low melt solder, if you don't have it use regular 60/40.
If the chip decides to blow the fuse again there will be absolutely no problem.
Here is another type of 3 legs fuse but with a different configuration.
It's used mostly on Lenovo Sanyo but can be found also on some other PCB.
Pay attention to the power contact legs.
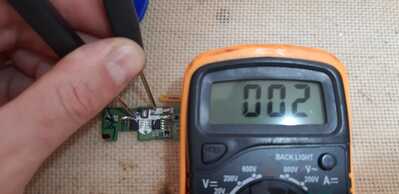
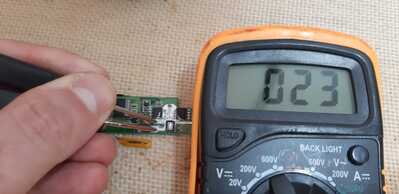
Ohms ?
Lets Make NLBA Great ! Together.
Ohms ?
Yes.
@tapasloveu do we remove the blue cape if yes can i use hot air station to do so
Thanks for the useful information


