
How to Repair a laptop battery (replacing the cells) and Unlock / Reset the chip BQ9000
Published On: June 06, 2021
Since there are not so many guides on battery recelling and chip reprogramming I decided to make one, hoping that it will help any beginner that is not sure how to proceed. Today I had the chance to work on a battery with a very strange combination FUJITSU battery with BQ9000 chip I have never seen this in already 7years dealing with battery repairs. So let’s find what’s wrong with this battery.
STEP 1 – Analyzing the battery
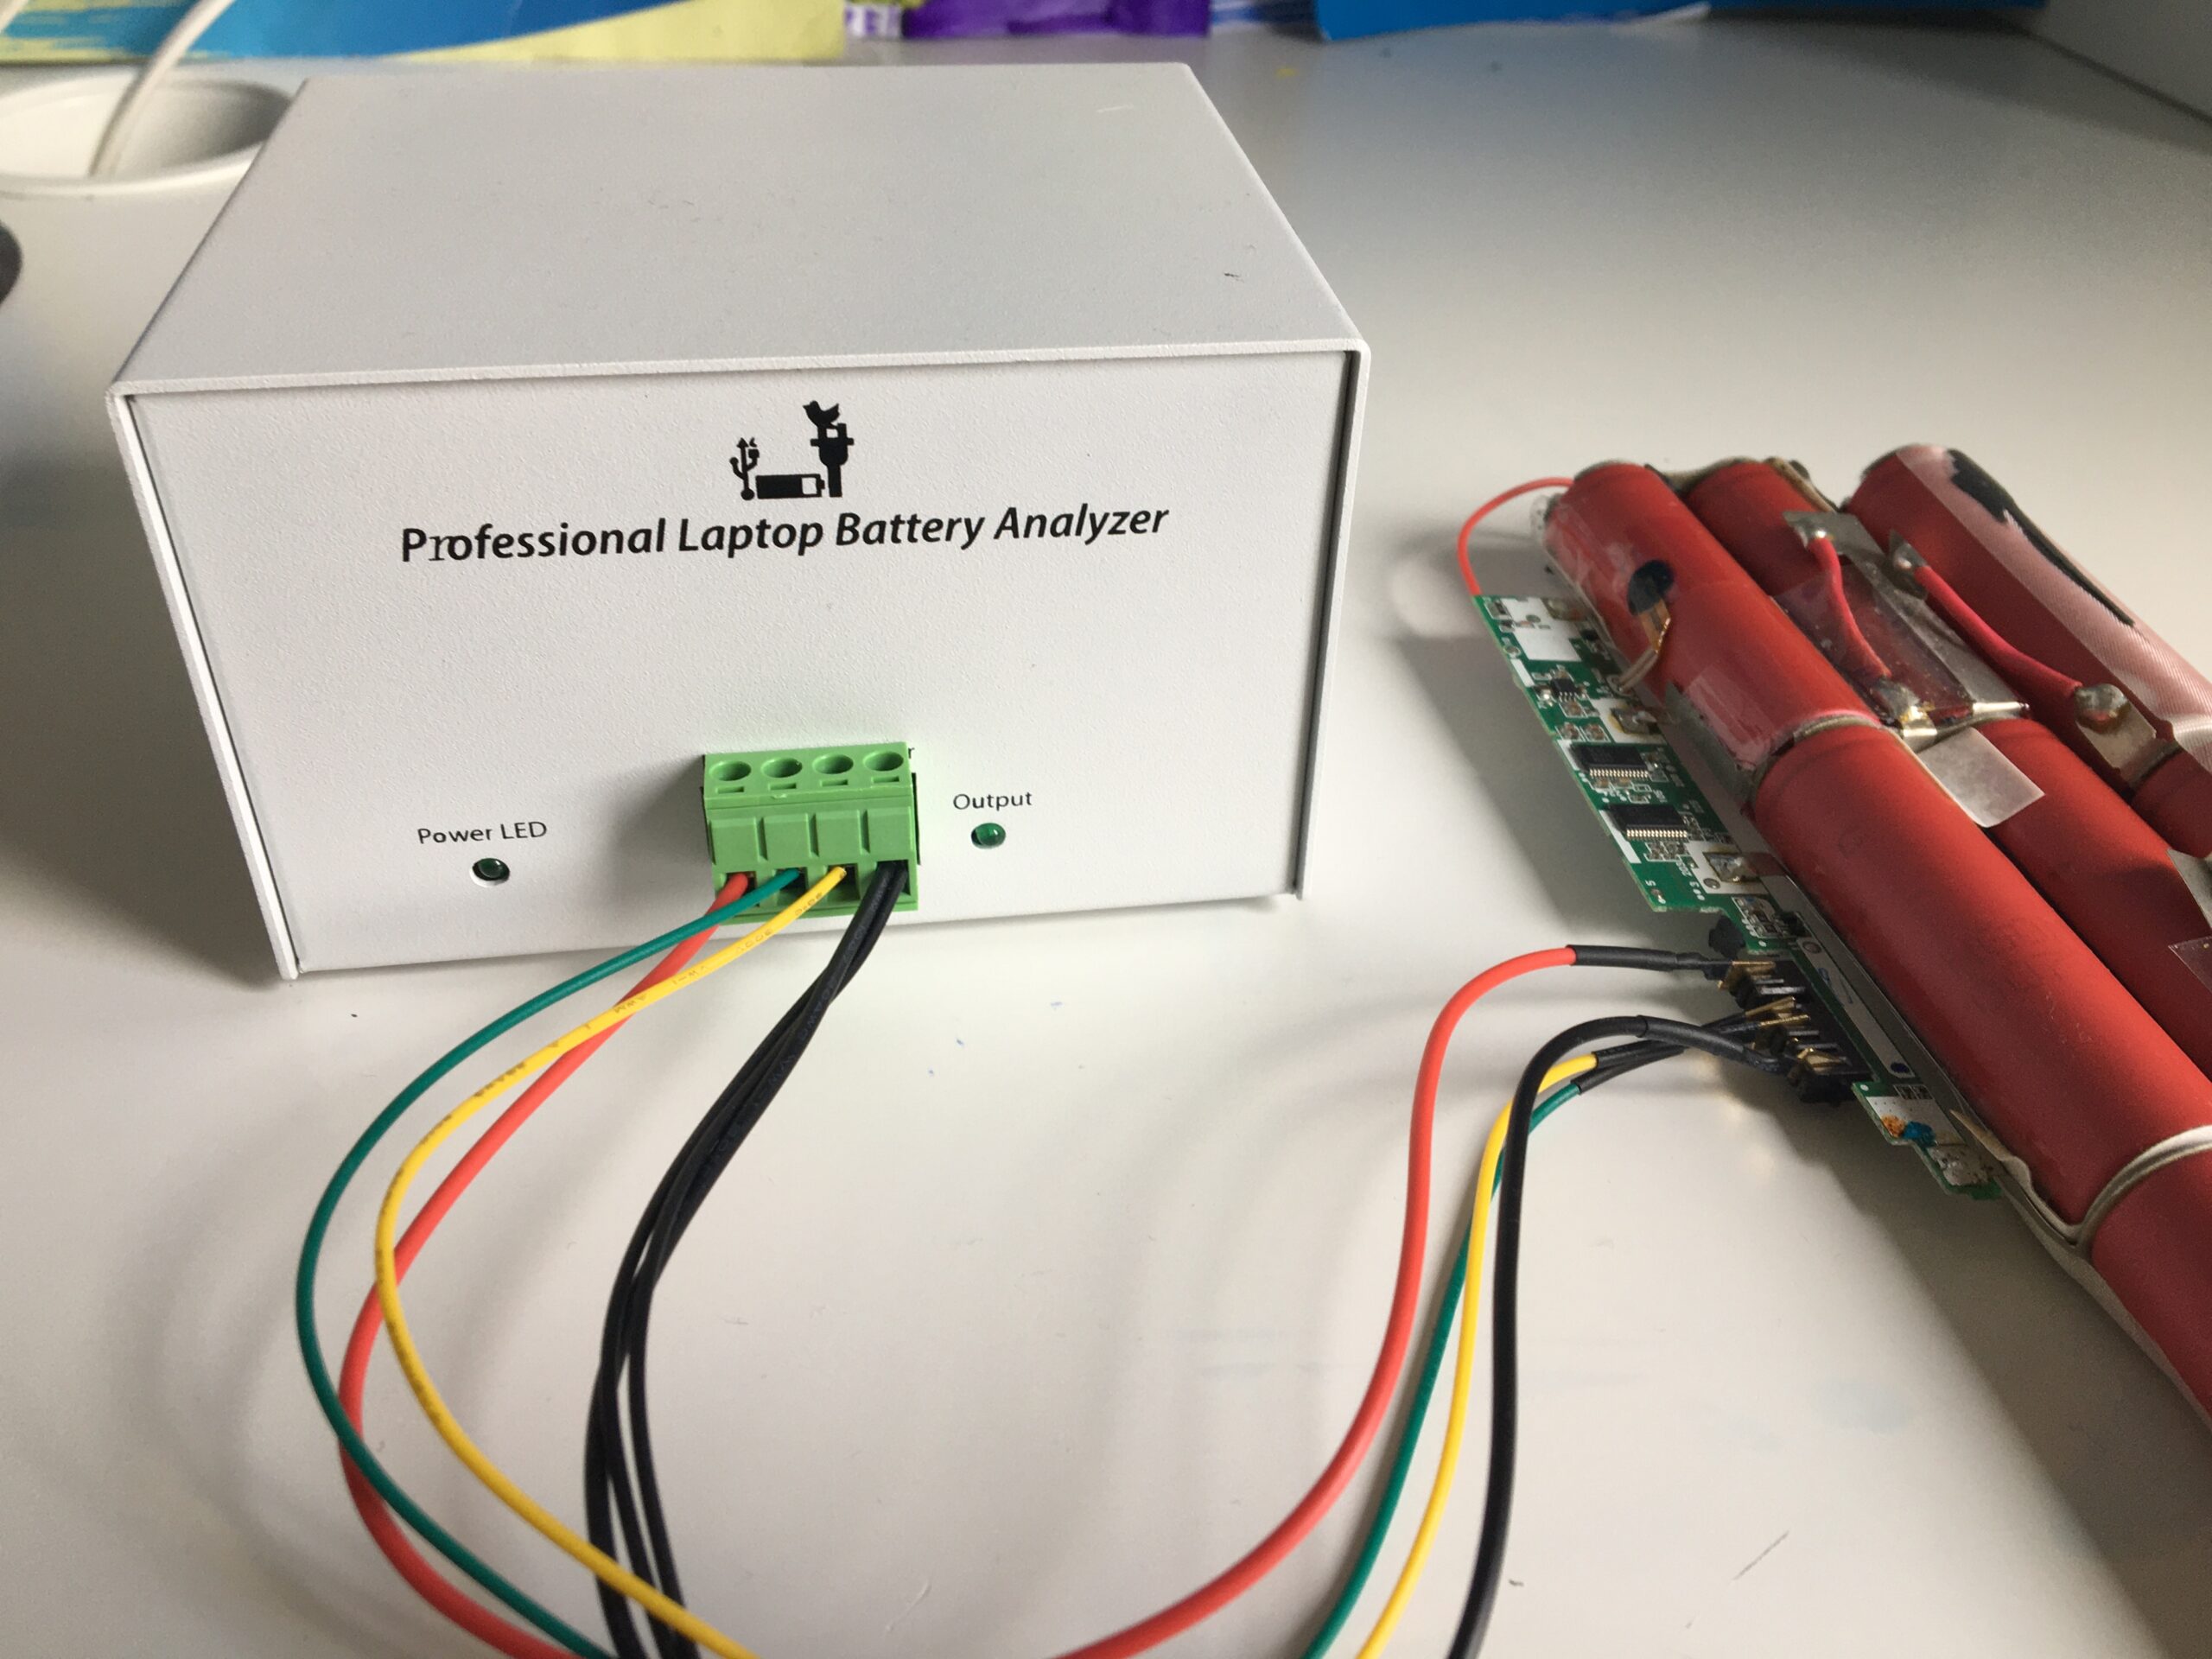
Connect the battery to the NLBA device and press START READING button. What we can see from the data?
1 – One of the cell groups is reading 0 volts, this is the main reason why the chip got locked.
2 – Charging Current & Charging Voltage values are 0. This can happen for a few reasons SYS pin not connected to ground /this battery does not have SYS pin/, the battery is fully charged, but in this case, RSOC is 0%, etc. So this is another indication that the chip is locked.
3 – Current is 0, and Output Led of NLBA device is OFF. Another indication that the chip is locked.
4 – If we press the BATTERY STATUS button we can see that TERMINATE CHARGE ALARM is set. This status bit can be set if the battery is FULLY CHARGED or there is a lock condition or PF /permanent fault/. In this case, since the RSOC is 0% conclusion is that the chip is locked.
STEP 2 – Find the fault
From STEP 1: 1 – One of the cell groups is reading 0 volts, this is the main reason why the chip got locked.
STEP 3 – Repair
So knowing all this there is only 1 solution. Opening the battery and replacing ALL cells and unlocking the chip.

I will not go into details on how to open a battery case etc. So after we have removed the old cells from the case we can see what was the reason for the lock condition. A short circuit because of a missing insulation pad between the positive tab and the case shell. The battery is genuine but still made by humans, and humans can make mistakes. It must be noted that not only the bottom part of the shell is negative, but the WHOLE outer shell is also negative.

Knowing that there was a short circuit we need to visually inspect the PCB for any damage. In this case, there was none, at least visually. Next, we need to identify the chip because in some cases it can happen that it is detected wrong and in this case, it was detected like a BQ8050. The reason for this is that the chip is being identified by NLBA from the static battery parameters like device name, manufacturer name etc, and the other reason is that in 2 absolutely identical batteries you can find 2 completely different chips. So the software can not be blamed if the chip is identified wrong. Actually, some other software like BE2Works don’t even have this feature so I appreciate it, and anyway, the wrong identification is a very rare thing.

STEP 4 – Check The Thermal Fuse
The next step will be to find and check the condition of the fuse. There are a few types of fuses and the test points on them are different but now I will not cover them all, we will focus on this type. We put the multimeter on continuity or /buzzer/ mode and we check between Test Point 1 & Test Point 2 you should hear a beep or a closed-circuit indication like in the picture if there is no sound or the readings are open circuit that means the fuse is blown and must be restored but only AFTER you finish with unlocking and reprograming the chip. Next we put the multimeter in resistance mode and put one probe on Test Point 3 & the other probe on Test Point 1 or 2, and depending on the fuse model you will see resistance from around 10 to 50ohms. This is the resistance of the heating element that melts the fuse. So we can confirm that the fuse is ok.


Step 3 – Repair (continue)
Our next step is to spot weld our new cells and you have to make sure that they have more or less the same chemistry and discharge characteristics as the old ones. Otherwise, the state of charge will be calculated wrong by the chip. The capacity of the new cells can be different than the old ones and can be adjusted easily.
When Connecting the new cells to the PCB we ALWAYS start with the NEGATIVE connection first because if we start connecting randomly the chip can lock again or fuse can blow etc.
In this case, the negative connection is indicated on the PCB as LP5, next is the 4.2v connection LP4, 8.4v connection LP3 and last the pack positive connection 12.6v LP1.
And as we can see if the battery has been opened properly it can also be closed properly with no problems at all.


Next comes the most important part, unlocking reprogramming the chip. And here is where NLBA will play a very important role because BQ9000 chip on FUJITSU was not even tested by the developers but everything still works like a charm. The reason is that different battery manufacturers put can put the fault codes in different areas of the DataFlash. So some softwares like UBRT for example claim that it can unlock BQ9000 maybe it will work on ACER batteries but not on HP, Lenovo, or DELL, etc, tested personally! But NLBA as we can see works even on untested battery firmware.
Unlocking the chip
Anyway, let’s get to the unlocking process.
We will go to the RESET tab press NEW RESET, press READ SBS and since the chip will be detected wrong as we mentioned earlier we have to manually select it from the drop-down menu.1 – I always like to read the Chip Info first just to make sure it’s in normal operation mode.
2 – Before you try to clear errors or anything else, ALWAYS read the original EEPROM and save it first. Just because if anything goes wrong you can always write back the original EEPROM back to the chip.
3 – Now you can proceed to clear the errors from the chip memory and change the Date, Cycles, FCC. In this case, FCC will be the same as the original because the new cells have the same capacity as the old cells. They are 6cells 2200mah each so in 3s 2p configuration this will result in 4400mah capacity and this is the value we need to put in the FCC field.
4 – After we are finished with the unlocking process we need to press END RESET and go back to the BATTERY INFO tab to check the results.

Result
Success!
As we can see the CHARGING VOLTAGE and CHARGING CURRENT values have appeared again, Current is -11mA this is what we want because the Output LED is ON now, and it means that the battery can output voltage. The TERMINATE CHARGE ALARM is gone now, also indicating that the chip is unlocked. Cycle count is 0, FCC is also changed to what we want 4400mah and the battery is reporting 100% health. The battery is brand new now and will work perfectly on the laptop.
So the last thing to do now is to perform a calibration cycle of full charge and full discharge to confirm normal operation.

Comparison between other Reset Softwares (UBRT, be2works, Regedit and NLBA):
In the end, I would just like to compare some prices on the market right now just to prove why NLBA is the best choice from my personal experience.
BE2works – current price 350$. No hardware included. Does not support BQ9000, BQ40xxx family and the results with other chip are not consistent, and many many more issues. If you can’t manage to reset a battery by your self they offer remote unlocking for 10$ per battery! Here support for the chips NLBA is officially working with is FREE and FAST in the forum!
UBRT- The price for a license that supports BQ9000 is 800$ per year CRAZY! Does not work with BQ9000 LENOVO tested personally. No hardware included. No forum support.
REGEDIT- Have not tried it because the developer does not even speak English! The prices are CRAZY!
NLBA– Hardware – Unlimited Usage, Lifetime, All Analysis functions included for FREE
NLBA- Reset Licence – I run a laptop battery repair workshop I got my money back for hardware + license for 1 week. Most importantly it really supports all the chips that it claims.
Amazing and fast and support in the forum. Constantly develops new features and new chip support.
I choose to stay with NLBA. You can also make your choice.
16 thoughts on “How to Repair a laptop battery (replacing the cells) and Unlock / Reset the chip BQ9000”
Leave a Reply
You might also like

How to Troubleshoot the NLBA1 Laptop Battery Analyzer ?
1. Check Device Power On 1.1. Connect the AC adapter to the NLBA1 device 1.2. Check if the Power LED is ON 1.3. If the Power LED is OFF ...
How to request Technical Support on the NLBA1 Community
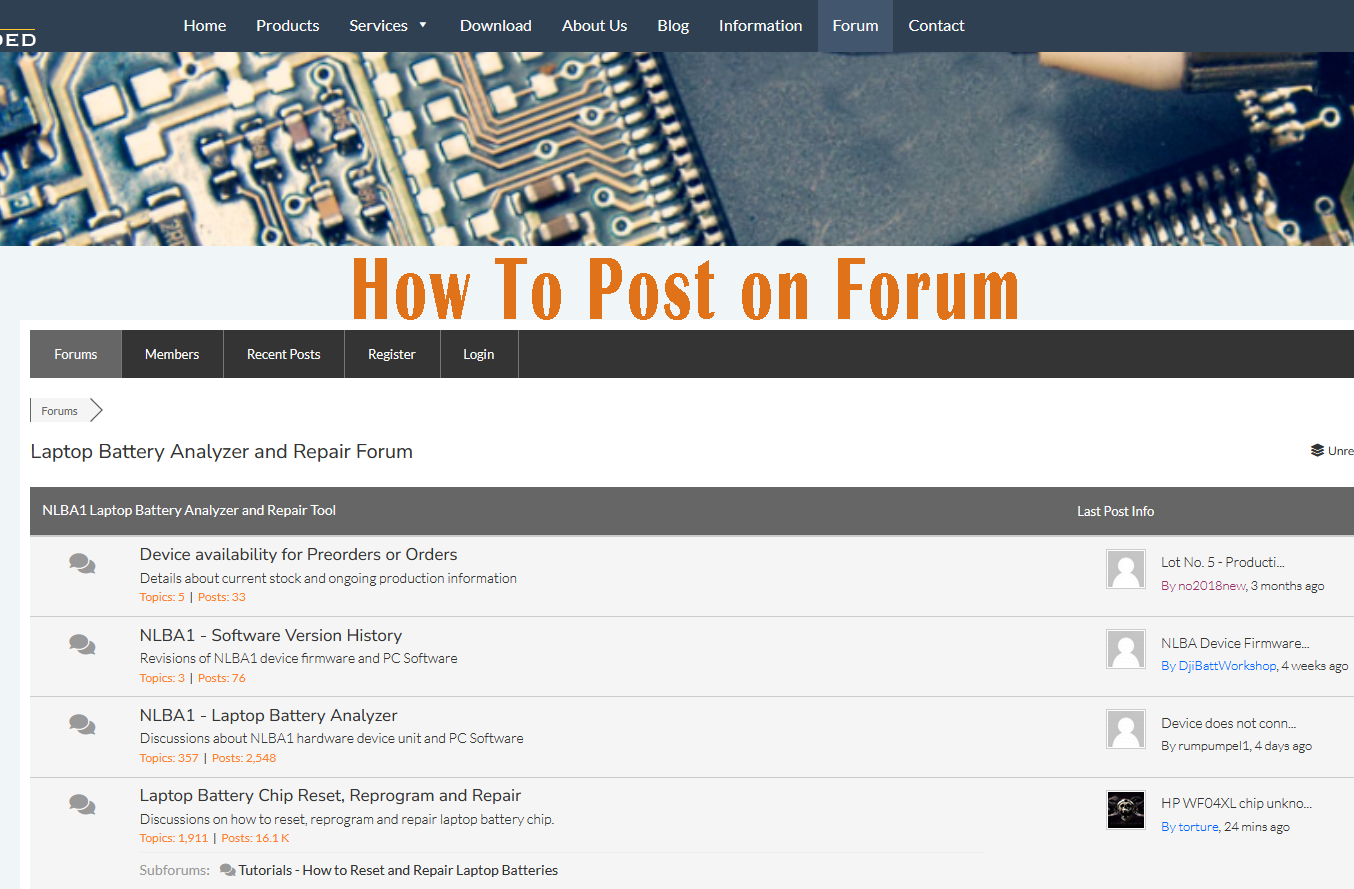
Step 1 Go to NLBA1 official website: https://www.laptopu.ro Step 2 Go to Forum by clicking “Forum” from the top menu: ...
Very useful information !
The other day I saw that there was a demo to repair batteries?
Do you mean you have seen a demo how to repair a laptop battery using NLBA device ?
Acer BQ8030 Battery Locked Was Telling I Reset It So Error Code=3
If you need support please ask on our community: https://www.laptopu.ro/community
I have 20 toshiba batteries, with a BQ9000 chip. The batteries are new PA5185 and all 20pcs are locked, the cells are good. I did a chip reset as you mentioned above step by step. But when I’m done, it still says the battery is locked.
Can you open a topic on https://www.laptopu.ro/community and post pictures from the software ?
Please open a topic on our support platform so we can analyze it: https://www.laptopu.ro/community .
Hey, how much would it cost to unlock a bq9000 on a AL12A23 Acer battery at a repair service?
I dont have and can’t afford to buy the tools necessary to do this, and it wouldn’t be practical for just 1 battery.
I got this battery second hand, as its the uncommon original version, and it came over-discharged to 0.8v on all 4 cells, locking the bms and not allowing the laptop to charge it.
The cells are fine as i have charged them manually back up to roughly 3.2V.
Usually 10-15$. Where are you from ?
om very happy to be bart of nip comunity
Thank you !
Please I want to understand why the last column in the cell voltage on the battery info shows zero on some batteries
It is the cell4 which is not mounted for 1s to 3s batteries.