
How to Repair a DJI MINI 2 Battery: Balancing the Cells and Unlocking the BQ40Z307 Chip
Published On: May 23, 2023
Introduction
As a hobbyist and a father of four children, I find great satisfaction in repairing broken items and electronics. Recently, I encountered a challenge when two DJI MINI 2 drone batteries, intended for my children’s enjoyment, failed to charge after a period of non-use. Acquiring new batteries would be costly, so I embarked on a journey to repair and optimize these batteries. In this comprehensive blog post, I will review and highly recommend the Professional Battery Analyzer tool from laptopu.ro, which proved invaluable in diagnosing and resolving the battery issues.
I wanted to tackle this issue, by principle and also because it’s a cool thing to learn and show-off to the kids 😉
Step 1: Analyzing the Problem
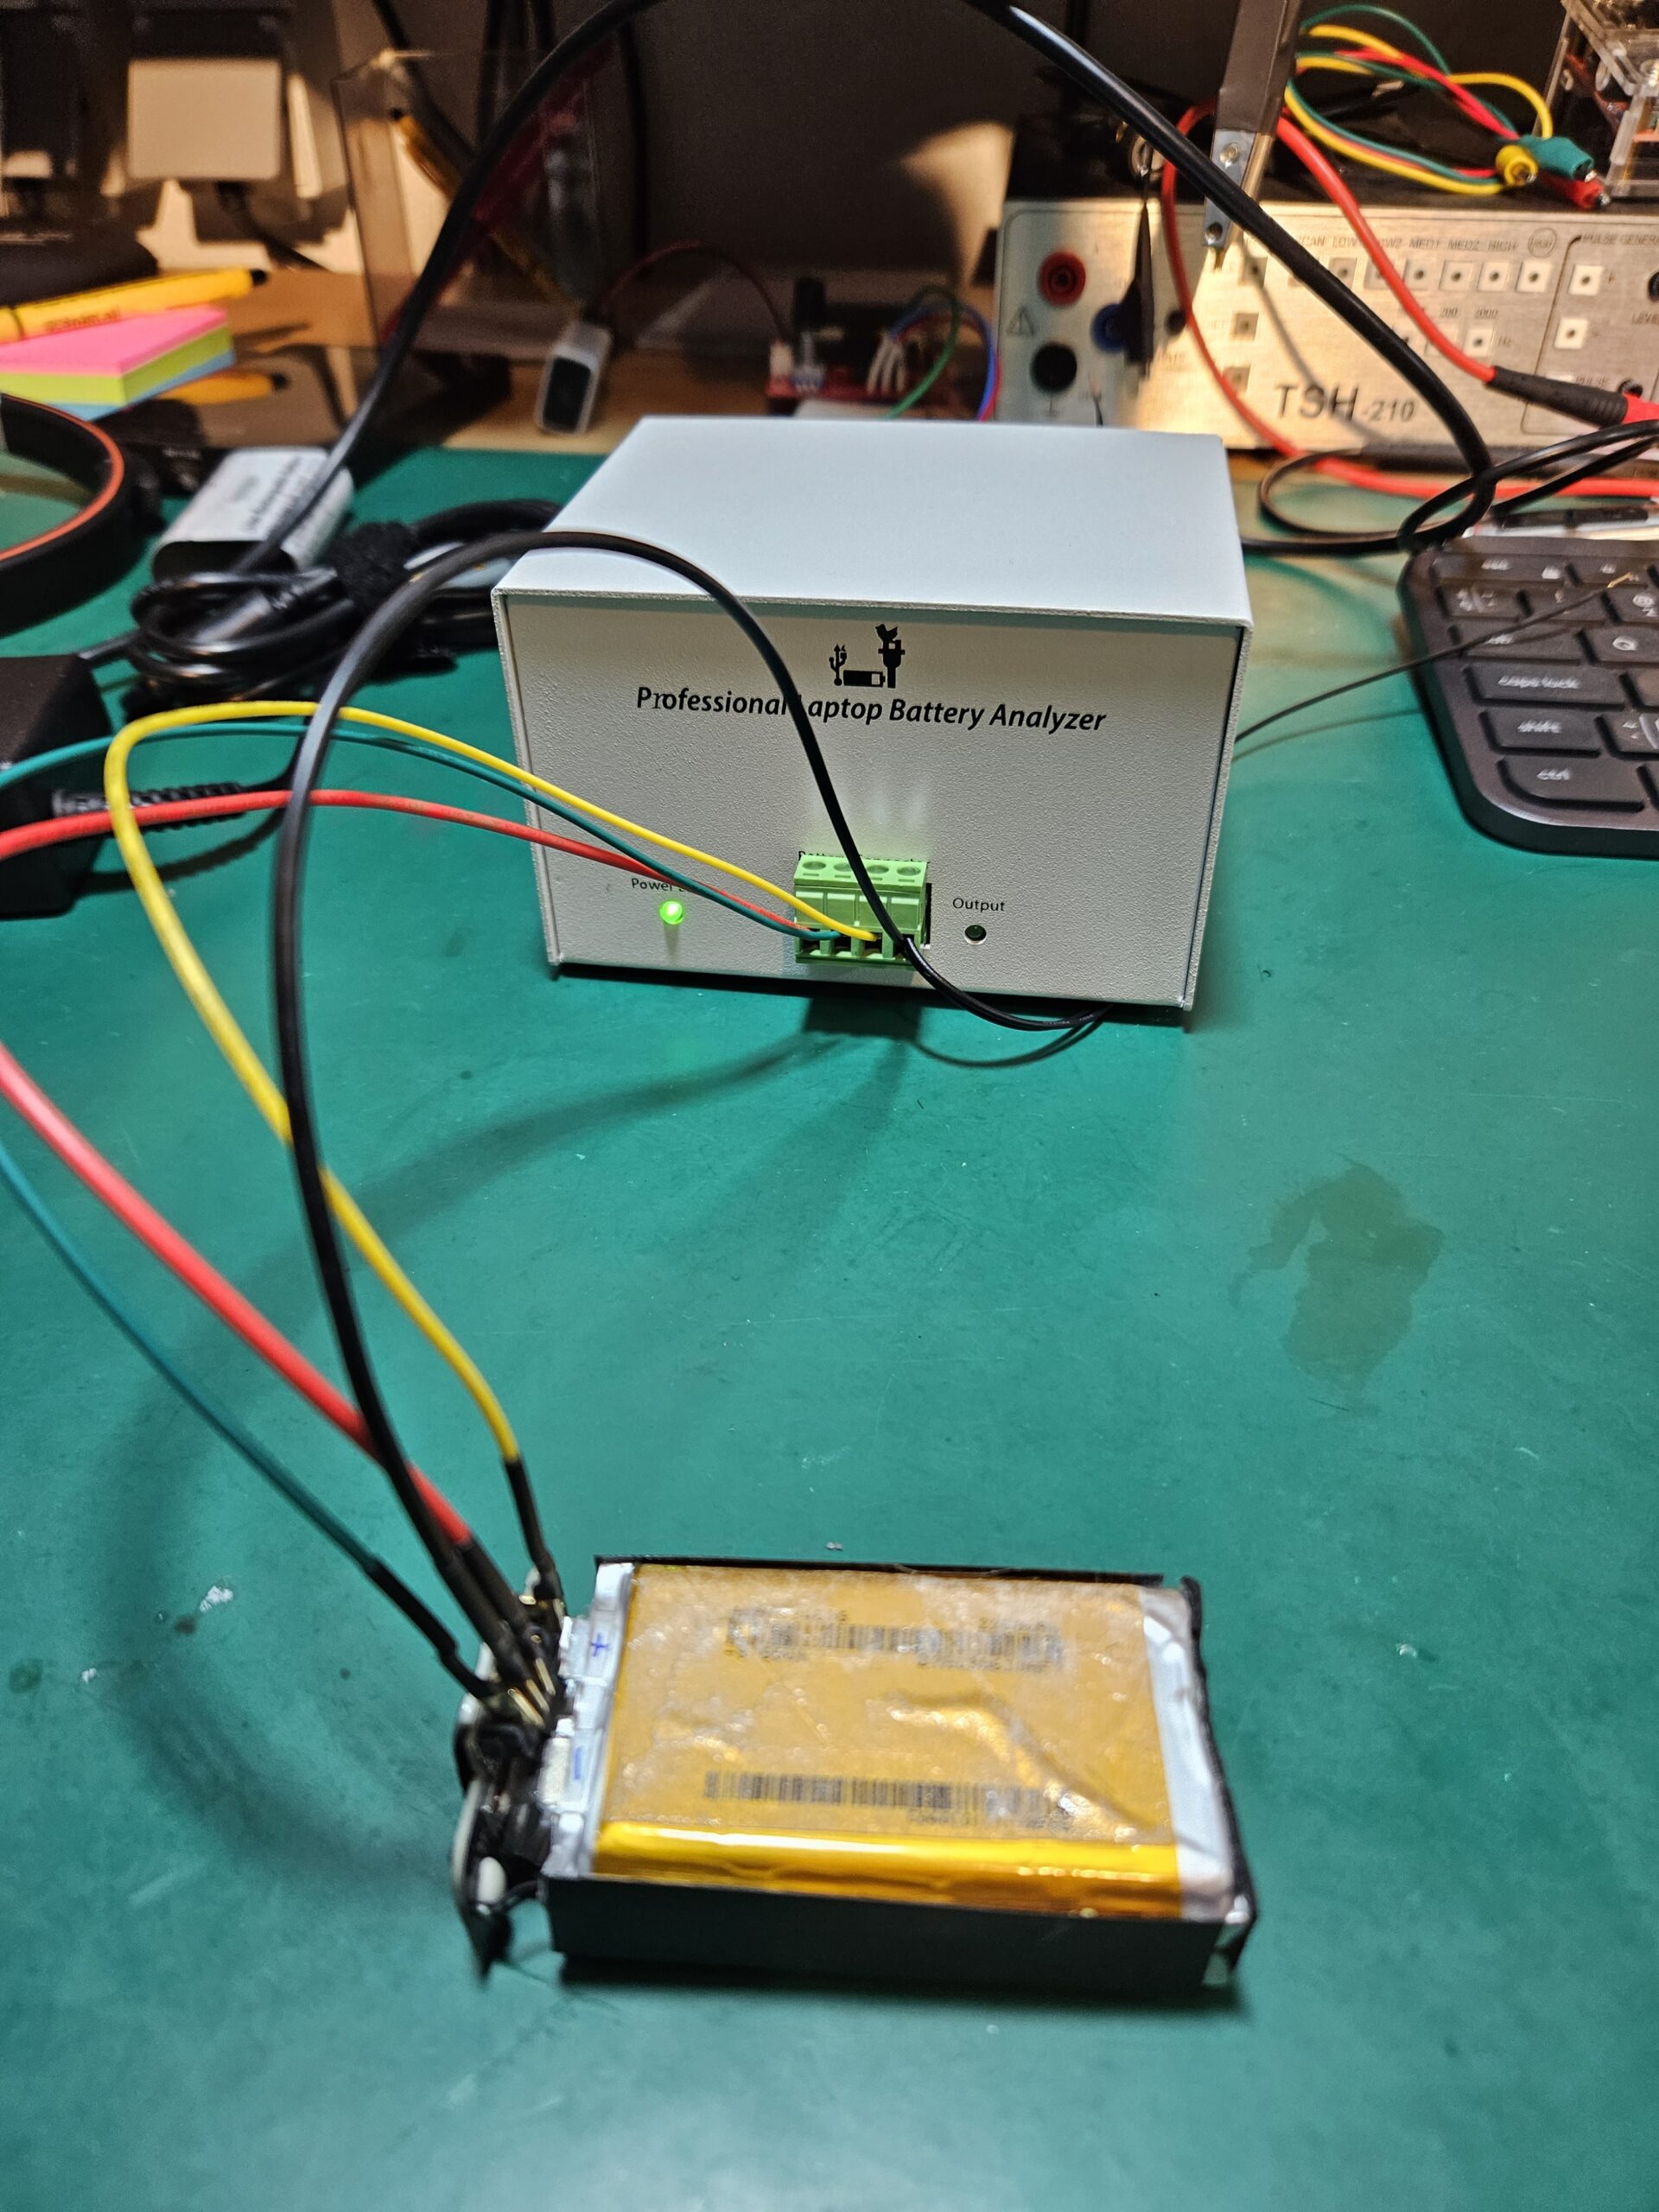
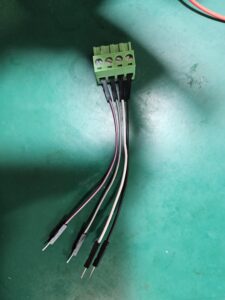
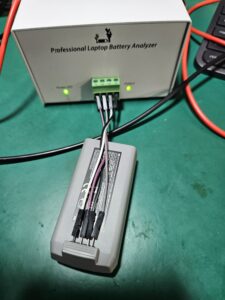
Upon connecting the batteries to the DJI charger, I noticed that all four LEDs blinked simultaneously, indicating a battery error. To understand the underlying cause, I recalled the Professional Laptop Battery Analyzer tool I had previously acquired for testing faulty laptop batteries. By creating a custom connector using spare Molex connectors that came with the Analyzer, I successfully interfaced the tool with the drone batteries.
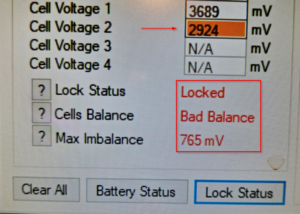
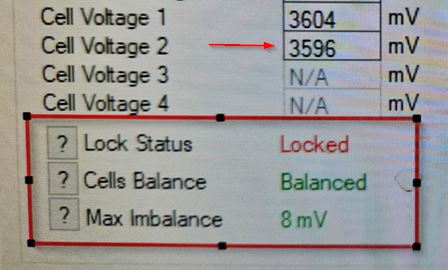
Utilizing the NLBA1 PRO Battery Analyzer Tool software, I quickly discovered that the battery cells suffered from a significant imbalance, exceeding 750 millivolts. Normally, an imbalance to about 50 millivolts is acceptable.
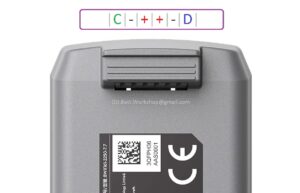
On the forum (https://www.laptopu.ro/community/drone-battery-pinout/dji) I could find the correct pin layout for the battery.
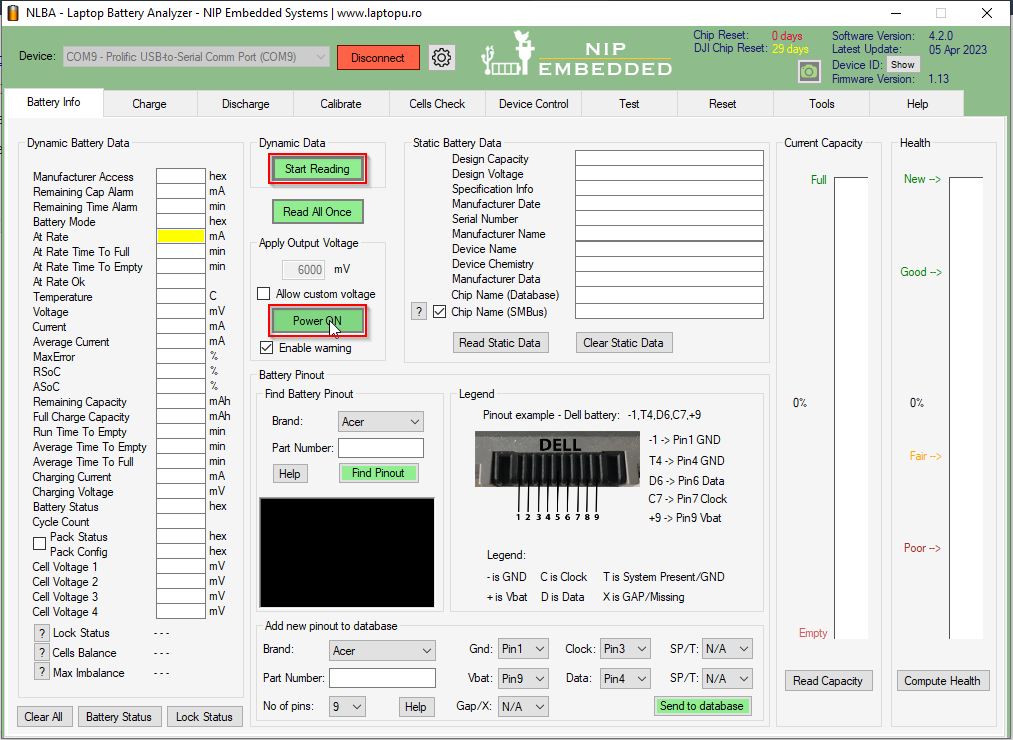
First, I had no readings whatsoever on the Battery Analyzer Tool software, but that was easily resolved by using the Power ON function. Opening the batteries, rebalancing the cells and unlocking the chip would be the only solution.
Step 2: Opening the Batteries
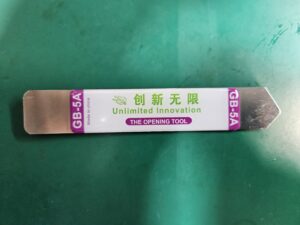
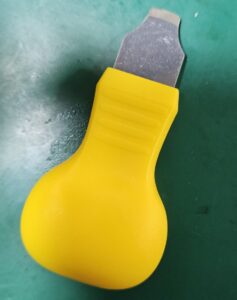
To access the internal components of the batteries, I employed a stainless steel spudger tool and a watch opener, both conveniently procured from AliExpress.
The battery casing consisted of two shells ultrasonically welded together, requiring gentle prying from the back to separate them. Although the internals were adhered to one side of the shells, I effectively loosened the adhesive using Tessa Adhesive Remover. Furthermore, I employed the adhesive remover and a layer of paper to remove the glue residue from the battery pack.


During this process, I measured the voltage on the cells using a high-precision multimeter, confirming a significant voltage imbalance of 2.923V and 3.690V on one battery and 3.107V and 3.601V on the other battery.

Step 3: Balancing the Cells
Balancing the cells of a lithium-ion battery necessitates precise conditions and specialized equipment. To achieve this, I used a lab bench power supply equipped with both constant current and constant voltage features. Setting the power supply voltage precisely to 4.2 Volts (as appropriate for conventional lithium-ion batteries like the DJI cells) and configuring the current to approximately one-tenth of the battery’s capacity (in this case, 250mA), I cautiously connected the power supply leads to the battery terminals.

Before initiating the charging process, it was crucial to ensure that the battery’s open circuit voltage exceeded 3 Volts. This precautionary measure mitigates the risk of explosion. Throughout the balancing process, I meticulously monitored the battery’s temperature, discontinuing the charging process if any unusual heat was detected. Maintaining vigilance and attending to the charging setup ensured a safe and effective balancing procedure. Upon completion, the voltage on the individual cell terminals was checked to confirm a successful balancing outcome.


At this setup, the battery will take approximately 10 hours to charge completely from 0% to 100%. But in my case, it only took let’s say 10 or 15 minutes to charge the cells to an equal voltage, as it was only meant to balance the cells. Make sure to check the voltage directly on the cell terminals when the power supply has been shutoff.
Step 4: Unlocking the BQ40Z307 Chip
While the balancing process significantly improved the battery’s cell voltage balance, the BQ40Z307 chip remained locked, preventing full functionality.


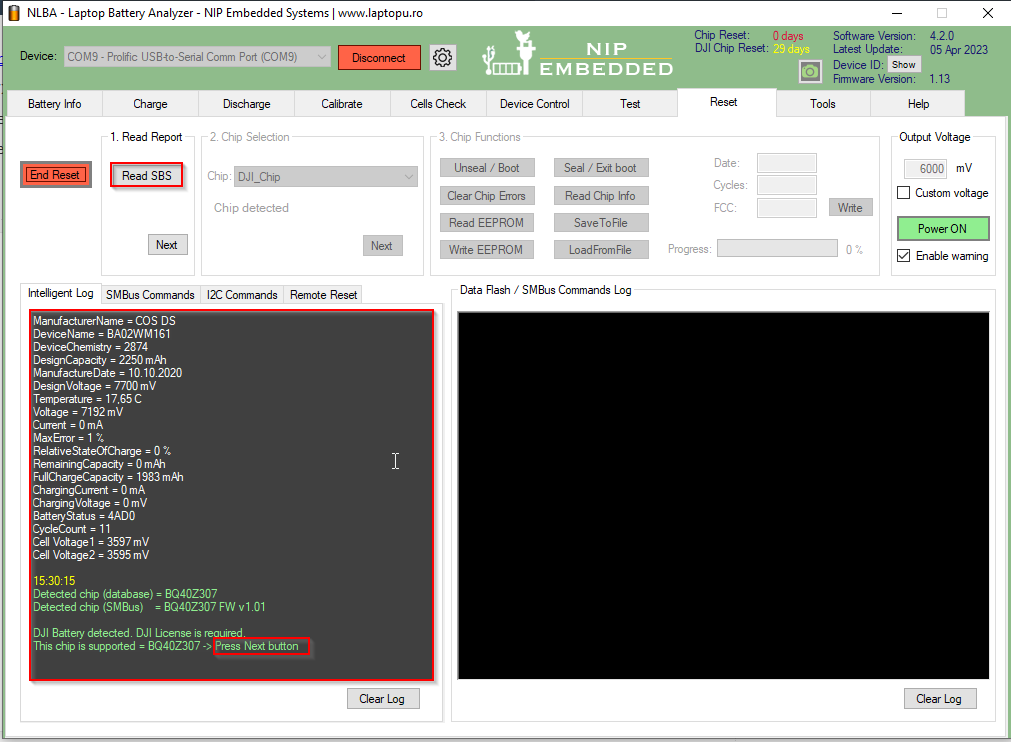
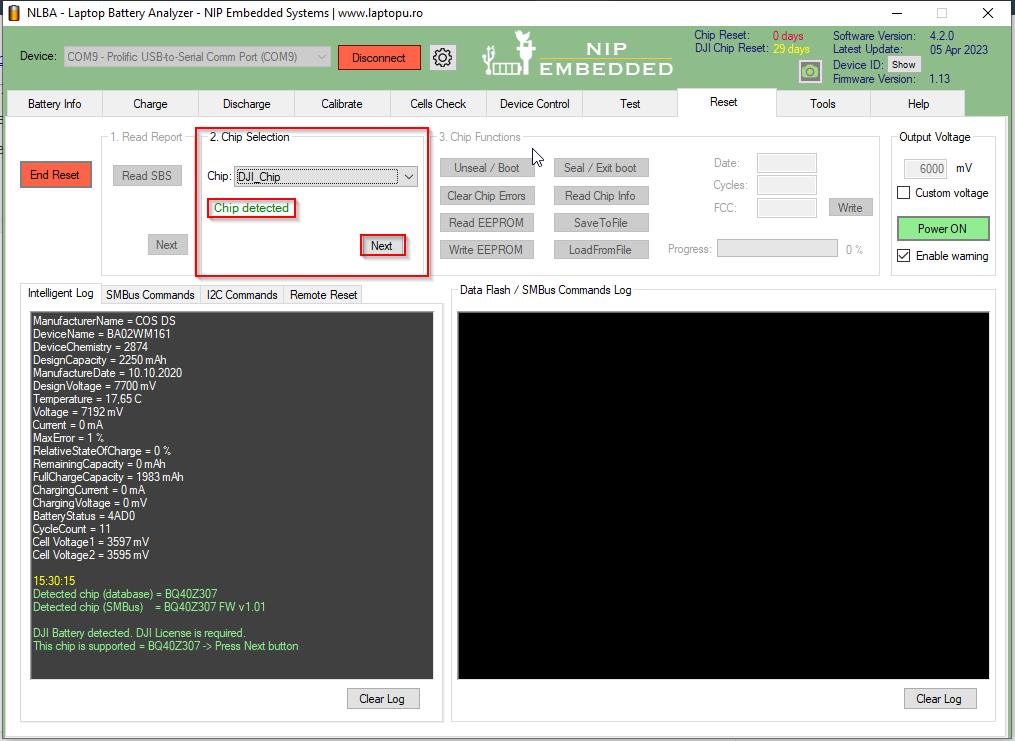
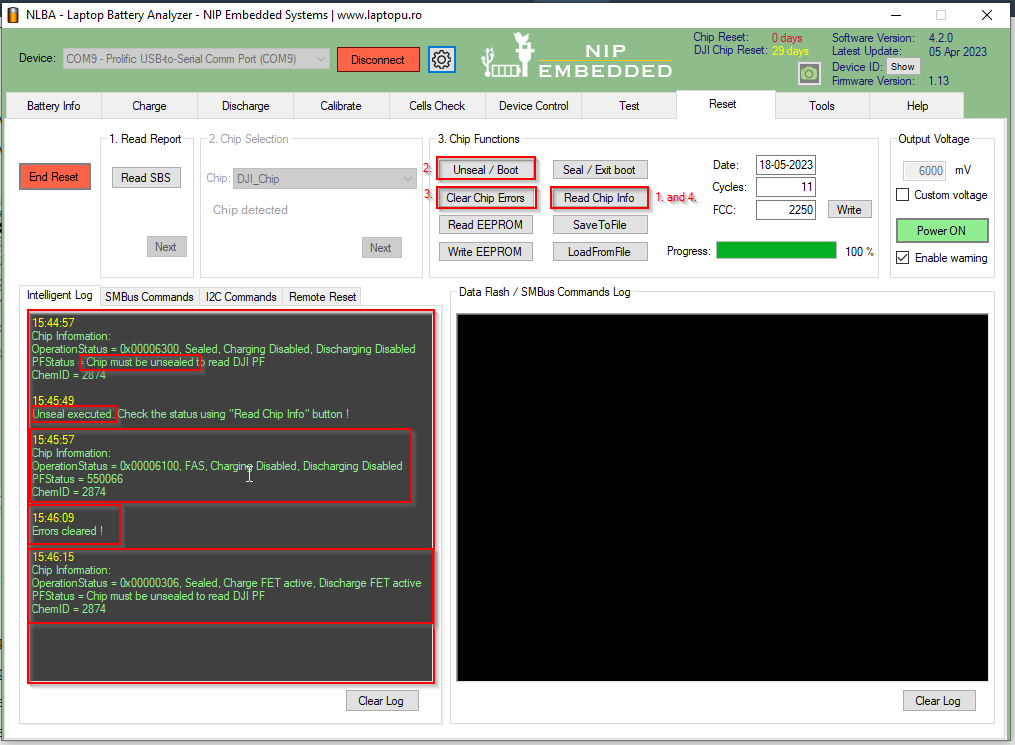
To unlock the chip and restore optimal performance the DJI Chip Reset Option is required. I followed a straightforward procedure within the Battery Analyzer Tool software. This involved reading the Smart Battery Systems (SBS), automatically identifying and selecting the DJI chip, reading the chip information, unsealing the chip, resetting any errors, sealing the chip again, and verifying the unlock status by reading the chip information once more. This process proved to be remarkably simple and successful, allowing the batteries to regain their full potential.


The battery health seemed to be good, but the charge was 0%, due to the discharge during storage. Would the batteries charge again? And yes, they did!
Charging the empty cells could take a while, but the USB tester I have from UNI-T indicated a steady almost 2 Amp charging current and the thermal camera showed no heating whatsoever on the newly balanced and unlocked cells. Here we have one happy camper, 😉

The final charge was also visible in the Battery Analyzer Tool software.

Step 5: Reassembling the Batteries
During the disassembly process, one of the battery shells incurred a small crack. However, this issue was readily resolved by applying B-7000 glue. I also trimmed down the edges of the shells with a fine hobby knife.


Furthermore, I used some two-sided tape to glue the battery pack back in place, and finally put the two shells together with some Kapton tape to be on the safe side.


The batteries are now fully charged and working great.
Lessons learned is to have the batteries wondering around for long times without having them in the charger. I was really glad the Professional Battery Analyzer cleared the way to fix these problems and to reuse perfectly fine batteries.
2 thoughts on “How to Repair a DJI MINI 2 Battery: Balancing the Cells and Unlocking the BQ40Z307 Chip”
Leave a Reply
You might also like

How to Troubleshoot the NLBA1 Laptop Battery Analyzer ?
1. Check Device Power On 1.1. Connect the AC adapter to the NLBA1 device 1.2. Check if the Power LED is ON 1.3. If the Power LED is OFF ...
How to request Technical Support on the NLBA1 Community
Step 1 Go to NLBA1 official website: https://www.laptopu.ro Step 2 Go to Forum by clicking “Forum” from the top menu: ...
so, you have to spend 139USD to “repair” two batteries worth 65USD each, working time, electricity and purchasing hardware not included
i have no words, maybe good for someone without limited budget, who likes tinkering with tech, but doesnot make sense financially
Or good for those who repair more than 2 batteries 🙂